
Creating, Editing, and Deleting Opportunities

An "opportunity" refers to a potential sales deal or a potential revenue-generating event for a business. It represents a specific potential transaction with a customer or client.

The Opportunities table provides a place for the sales team to store and keep track of all opportunities. The Sales Dashboard derives the majority of its information from the records on the Opportunities table.

Creating an Opportunity

Opportunities can be created in two ways. The first is through the Lead conversion button, which automatically creates an Opportunity with the relevant lead details. The second way is to create a new item manually:

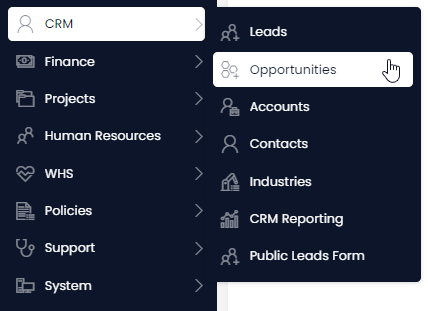
  1. In the Explorer Sidebar select CRM > Opportunities

A screenshot depicting how the user can navigate to the "Assets" table using the sidebar. In this example, the user has pressed the "Assets" folder, which has icon of a box with confetti inside. The user has then pressed the "Assets" table button, which has an icon of three list items.

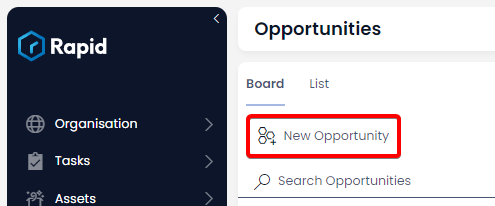
  1. Select New Opportunity

A screenshot that shows the location and appearance of the "New Opportunity" button. The button has an icon of three hexagons and a plus symbol in the lower-right corner. The button appears in the Command Bar of the "Opportunities" pages. The screenshot is annotated with a red box to highlight the location of the button.

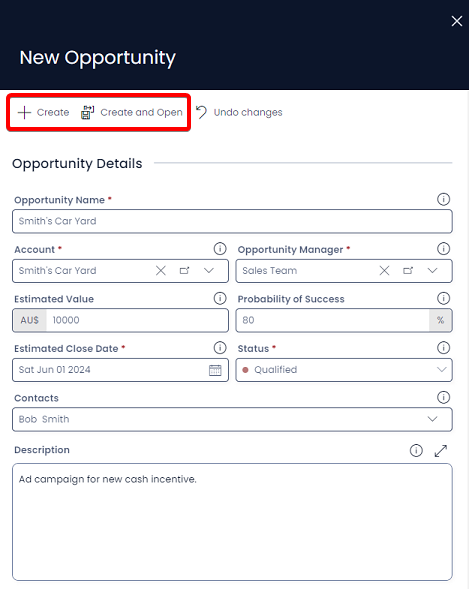
  1. Enter the relevant details. (Be sure to enter data into all required fields).

  2. Press + Create or Create and Open

A screenshot of the "New Opportunity" create screen. The screenshot is annotated with a red box to highlight the location of the "+Create" and "Create and Open" buttons. The opportunity fields are filled in as follows: "Opportunity Name: Smith's Card Yard", "Account: Smith's Card Yard", "Opportunity Manager: Sales Team", "Estimated Value: $10000", Probability of success: "80%", "Estimated Close Date: Sat Jun 01 2024", "Status: Qualified", "Contacts: Bob Smith", "Description: Ad campaign for new cash incentive."

Editing an Opportunity

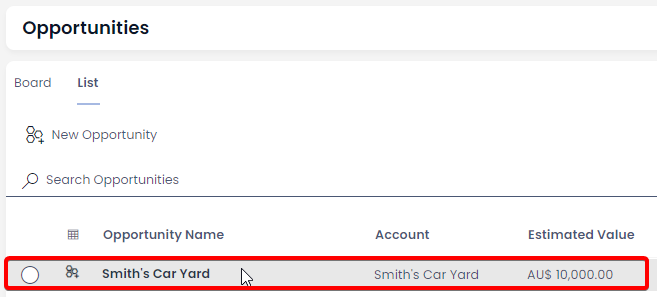
  1. Open the Opportunity you wish to edit. (Locate the Opportunity either by scrolling through the list or using the search bar).

A screenshot that shows how to open an Opportunity item from the list tab in Explorer. The screenshot is annotated with a red box to highlight the item row titled "Smith's Car Yard."

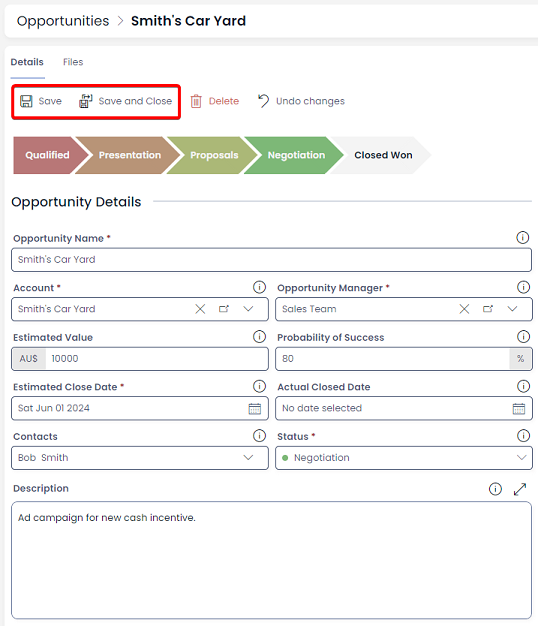
  1. Edit any relevant fields on the Opportunity as needed.

  2. Once you have finished editing, click on Save or Save and Close.

A screenshot of the Opportunities item details page titled "Smith's Card Yard". The screenshot displays the information entered during the create screen step above, and is annotated with a red box that highlights the "Save" and "Save and Close" buttons in the Command Bar.

Deleting Opportunities

It is not recommended to delete an Opportunity instead change its status to Closed Lost. This way, you can maintain a list of all your opportunities.

However, if you need to delete an Opportunity due to incorrect data entry or a duplicate entry, you can do so in two ways: from the list or from the item page. Deleting from the list allows you to delete multiple Opportunities at once.

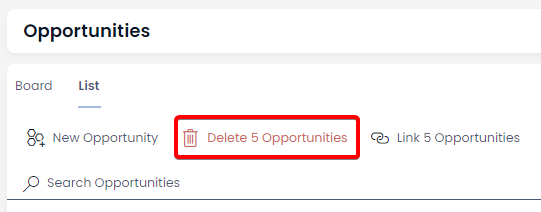
Deleting Multiple Opportunities

  1. Select the Opportunities you wish to delete

A screenshot demonstrating that multiple opportunity items can be selected via the selection circles on the far left of the item row.

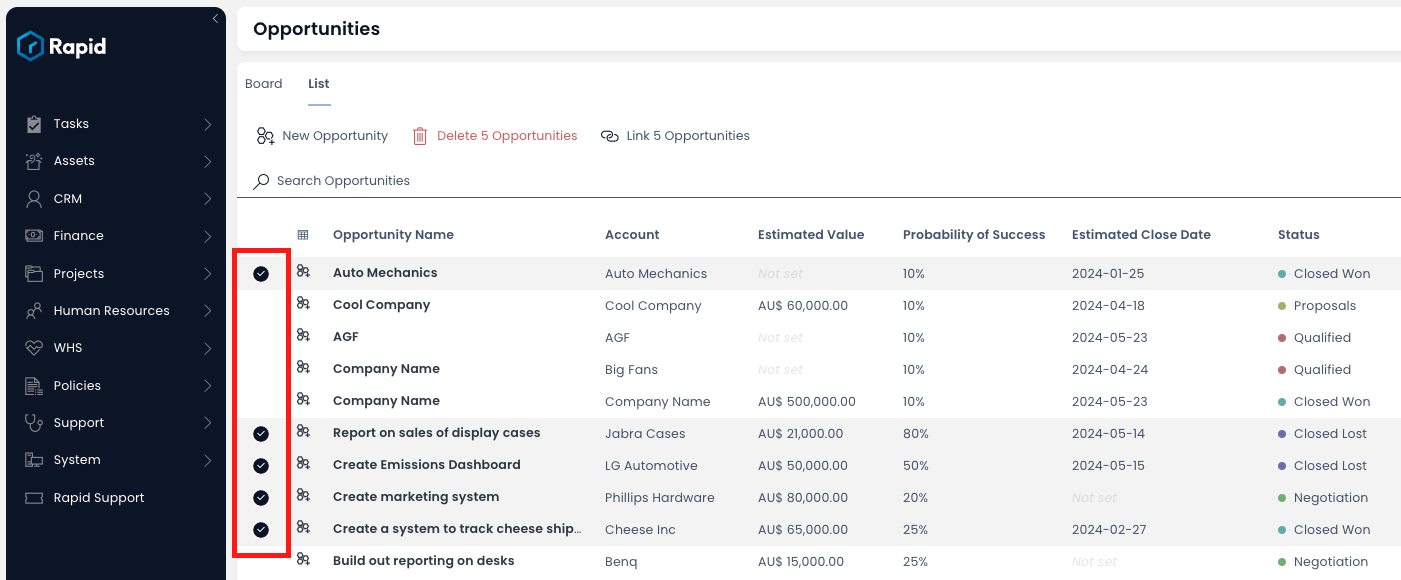
  1. Click on Delete X Opportunities button

A screenshot of the "Delete" button that appears when multiple items are selected on the opportunities list table. The button has a red icon of a trash can and a red label that reads: "Delete 5 Opportunities" because there are five items selected. The screenshot is annotated with a red box that highlights the location of the "Delete" button.

Deleting a Single Opportunity

  1. Open the Opportunity you wish to delete. (Locate the Opportunity either by scrolling through the list or using the search bar).

A screenshot that shows how to open an Opportunity item from the list tab in Explorer. The screenshot is annotated with a red box to highlight the item row titled "Smith's Car Yard."

  1. Press Delete

A screenshot of the "Delete" button that appears on a opportunity item page. The button has a red icon of a trash can and a red label that reads: "Delete". The screenshot is annotated with a red box that highlights the location of the "Delete" button.